Published
- 2 min read
OBS Setup Tips for Crystal Clear Audio
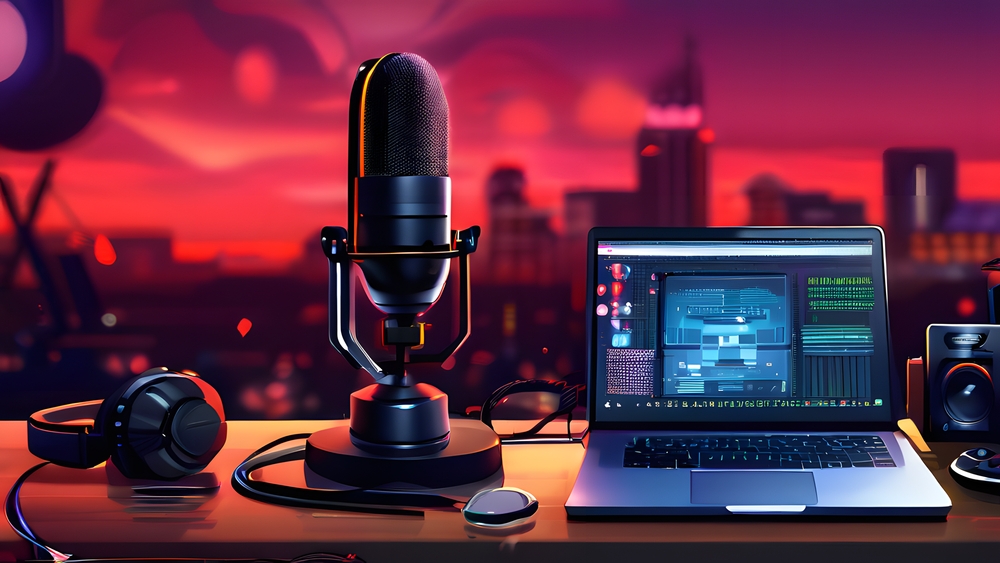
Let’s explore a couple of straightforward steps to enhance the audio quality while streaming or recording with OBS. While I’m using the Blue Snowball Ice microphone, these configurations are generally applicable to any microphone.
Basics
Firstly, ensure your microphone is positioned approximately 6 inches or 15 cm away from you. When you speak, you should aim to hit around -6dB on the Audio Mixer.
In my case, I found it necessary to make a slight adjustment. I added a +10dB gain in the settings to reach those desired levels.

Setting up Filters
Now, you may notice unwanted background noise creeping in. Fortunately, you can address this by utilizing filters.
To access the Filters, click the three dots, then press the ’+’ in the window to add new filters.

Noise Suppression
Our first filter is Noise Suppression, which effectively reduces unwanted background noise, including mouse clicks, for a cleaner audio output.
No additional configuration is needed, and you’ll notice a significant reduction in background noise immediately.
Noise Gate
Next up is the Noise Gate filter, which automatically controls when your microphone is active based on sound levels. Ideally, it ensures that only your voice is captured while minimizing background sounds.
You can adjust the settings to determine when the gate opens and closes. In my case, I needed to set the opening trigger to -52dB.
Compression
Finally, Compression helps maintain consistent audio levels by adjusting volume fluctuations, ensuring a more balanced sound output regardless of speaking volume.
With these simple adjustments, you can significantly enhance your audio quality for a more professional streaming or recording experience.